
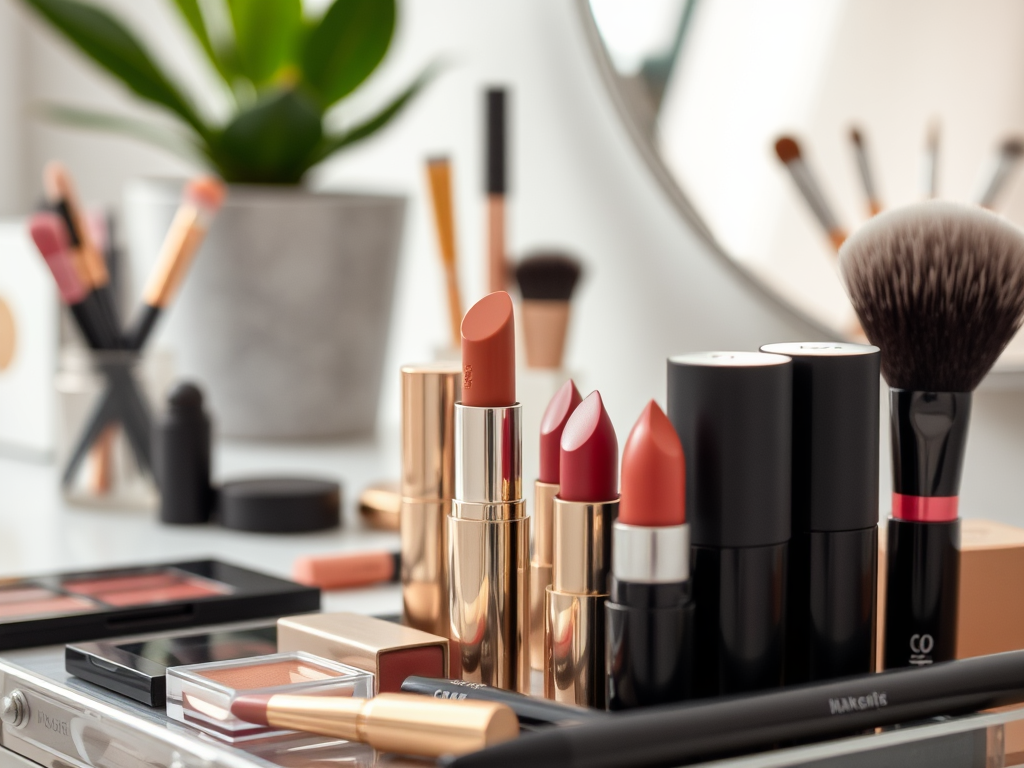
Makeup Routine Steps: Perfecting Your Everyday Look
For many, a morning makeup routine is not just a ritual; it’s a way to express creativity and confidence. Whether you’re headed to the office, meeting friends, or just want to feel polished for the day, the right makeup routine can transform your entire look. Understanding the essential steps—from prepping your skin to defining your eyes—allows you to achieve an everyday look that feels seamless and natural. With a variety of products at your disposal, it may seem overwhelming at first, but taking it step by step can simplify the process. This guide will walk you through each stage, helping you perfect your everyday makeup routine. By the end, you’ll feel equipped to tackle your daily application with ease and confidence.
Step 1: Prepping Your Canvas
Before diving into color and techniques, ensuring your skin is properly prepared is crucial for a flawless makeup application. Start with a clean slate by washing your face with a gentle cleanser that suits your skin type. After cleansing, apply a moisturizer to hydrate your skin; it will create a smooth canvas that enhances the application of foundation and minimizes dryness. If your skin is on the oilier side, consider using a lightweight, oil-free moisturizer. Additionally, don’t forget the importance of sunscreen—especially if you’ll be spending time outdoors.
Next comes the primer. Many people skip this step, but a good primer can significantly enhance the longevity of your makeup. Primers come in various formulas—mattifying for oily skin, hydrating for dry skin, and pore-filling for a smoother appearance. Applying a primer can also help to diminish the appearance of fine lines and create an even, ready-to-makeup canvas.
| Type of Primer | Best For | Key Benefits |
|---|---|---|
| Mattifying Primer | Oily Skin | Controls shine, minimizes pores |
| Hydrating Primer | Dry Skin | Boosts moisture, smooths texture |
| Pore-Filling Primer | Normal to Combination Skin | Smooths appearance of fine lines |
Step 2: Foundation Application

The next step is applying foundation. A foundation acts as the base layer for your makeup, significantly impacting the overall appearance of your face. Selecting the right shade is vital and can dramatically enhance your natural glow. Be sure to test foundation shades on your jawline in natural light to find the perfect match. The goal is to be as invisible as possible while enhancing your skin tone. Keep in mind, you may need different shades for summer and winter due to changes in your complexion.
There are various methods to apply foundation, each offering a different finish. Utilizing a makeup brush can produce a flawless, airbrushed look, while a sponge allows for a more natural, dewy finish. You can even use your fingers, which can warm up the product, making it easier to blend. It’s essential to distribute the foundation evenly across your face—start at the center and work your way outward, blending well around the jawline and hairline for a seamless application.
Here are some application methods you might consider:
- Foundation Brush: Provides full coverage, ideal for a polished look.
- Beauty Sponge: Offers a natural finish, great for everyday wear.
- Fingers: Quick and easy; perfect for lightweight foundations.
Step 3: Concealing Imperfections
After foundation, it’s time to tackle any blemishes, dark circles, or redness with concealer. Choosing the right concealer can either enhance your makeup or make it look cakey. It’s important to pick a formula that matches your foundation shade closely for blemishes, while a lighter shade works best for under-eye circles to brighten that area. Cream concealers are excellent for coverage, whereas liquid options tend to feel lighter on the skin.
When applying concealer, use a small brush or your fingertip to dab it over imperfections. Make sure to blend well to avoid harsh lines. If you’re targeting under-eye circles, apply the concealer in a triangular shape, with the base of the triangle resting on your lower lash line and the tip pointing toward your cheek. This application technique will help lift the appearance of your eyes.
Step 4: Enhancing Features with Contour and Highlight
Contouring and highlighting add depth and dimension to your face, allowing you to accentuate your best features. To effectively contour, identify the areas you want to hollow out, generally the sides of your nose, your cheeks, and your jawline. Using a matte bronzer or a contour product, apply it in the hollows of your cheeks, following the natural line just below your cheekbone. Blend the contour thoroughly to avoid harsh visible lines.
Highlighting, on the other hand, should be applied to the high points of your face where light naturally hits—such as the tops of cheekbones, the bridge of your nose, and your cupid’s bow. When done right, these techniques give your face a beautiful glow. A subtle highlighter can create the illusion of healthy, radiant skin.
Here are some important techniques to keep in mind:
- Use a matte bronzer for contouring to avoid any sheen.
- Apply highlighter with a fan brush for a delicate finish.
- Blend blend blend! It should look seamless.
Step 5: Defining the Eyes
The eyes are often considered the focal point of the makeup routine. A well-defined eye can elevate your entire look and add personality to your face. Start with shaping your eyebrows, as they frame your eyes. You can fill in any sparse areas with a brow pencil or powder for a fuller appearance. Choose a shade that matches your natural brow color for a cohesive look.
When it comes to eyeshadow, a simple palette of neutral shades can be sufficient for an everyday look. Apply a lighter color on the lids, a medium shade in the crease to define, and use a darker shade to add dimension to the outer corners. Keep it soft and natural; blending is crucial in achieving that effortlessly polished finish.
Don’t forget mascara! Apply a coat or two to your lashes to open up your eyes. If you like, add a thin line of eyeliner near the lash line for added definition. Make sure to curl your lashes beforehand for that wide-eyed effect.
Step 6: Blushing and Finishing Touches
To bring a little life back into your face, add a pop of blush to your cheeks. Smile to find the apples of your cheeks and brush the blush lightly on, blending it outwards to avoid harsh lines. The right blush can brighten your face and create a youthful radiance. Choose a color that complements your skin tone, opting for pinks and peaches for fair skin and deeper berry shades for darker skin. This little touch can make a big impact in achieving that healthy glow.
Finally, don’t forget to set your makeup. A setting spray or powder can lock your look in place, helping it last throughout the day. Sprays tend to provide a more natural finish, while powders can absorb excess oil. Experiment to find which works best for your skin type and environment.
Conclusion
Perfecting your everyday makeup routine doesn’t have to be a daunting task. By breaking it down into simple, manageable steps, you can create a look that enhances your natural beauty effortlessly. From prepping your skin with cleansing and moisturizing to defining your features with blush and highlighter, each step plays a pivotal role in achieving that polished aesthetic. Remember, the key is practice; the more you experiment, the easier and more enjoyable your makeup routine will become. Embrace the artistry of makeup and enjoy crafting daily looks that express who you are.
Frequently Asked Questions
- What is the best order to apply makeup? Start with skincare, then foundation, concealer, contour/highlight, eyes, blush, and finish with setting spray.
- How do I choose the right foundation for my skin type? Select a foundation formula that matches your skin type (e.g., oily, dry), and do a patch test to find the right shade.
- Can I skip primer? While primer is beneficial for longevity, you can skip it if you have a good skincare routine and choose the right foundation.
- How often should I change my makeup products? Check expiration dates; generally, liquid foundations last 6-12 months, while powdered products can last longer.
- What are some budget-friendly makeup brands for beginners? Brands like e.l.f., Maybelline, and NYX offer quality products at affordable prices, great for beginners.
Reading time 10 minutesFor many, a morning makeup routine is not just a ritual; it’s a way to express creativity and confidence. Whether you’re headed to the office, meeting friends, or just want to feel polished for the day, the right makeup routine can transform your entire look. Understanding the essential steps—from prepping your skin to…