
Contour Lines on Your Face: Mapping Out Your Makeup Journey
The journey to mastering makeup is often filled with techniques that can elevate one’s look from simple to stunning. Among these techniques, contouring stands out as a powerful method that not only enhances facial features but also allows for individual expression. While it may seem daunting initially, contouring can become second nature with practice and the right knowledge. This article aims to guide you through the fundamental aspects of contouring and highlighting, ensuring you can navigate the nuances with ease and confidence. By mapping out your makeup journey, you’ll uncover the best practices tailored to your skin type, tone, and face shape. Let’s embark on this voyage of artistic transformation together.
Understanding Contour and Highlight
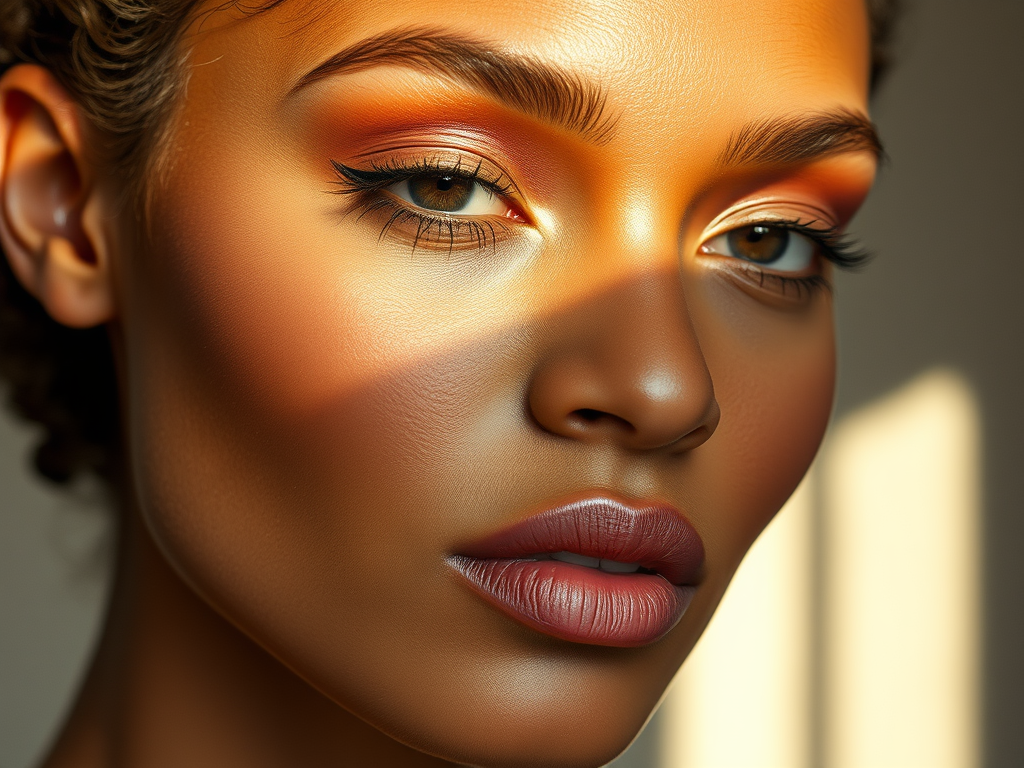
Contour is more than just makeup; it’s a technique used to define and enhance your natural facial features. By strategically placing darker (contour) and lighter (highlight) shades, you can create a sculpted appearance that accentuates your best traits. Understanding how light interacts with your face helps you achieve the desired look, removing the guesswork from the process. It’s essential to realize that both contouring and highlighting work in harmony to create dimension. This interplay is what gives your face its shape. Mastering this delicate balance not only enhances beauty but also boosts confidence.
Contouring relies on the principles of light and shadow. Areas where you want to recede or diminish are typically shaded darker, while areas you wish to highlight or bring forward are emphasized with lighter colors. This simple understanding can transform the way you apply makeup. With the proper technique, contouring becomes an artistic expression of one’s unique aesthetic preferences. Moreover, the right products in the right places can make a world of difference in your overall look. Understanding your face’s architecture is like knowing the layout of a map; it allows you to navigate the land of makeup more effectively.
Tools and Products Needed for Contouring
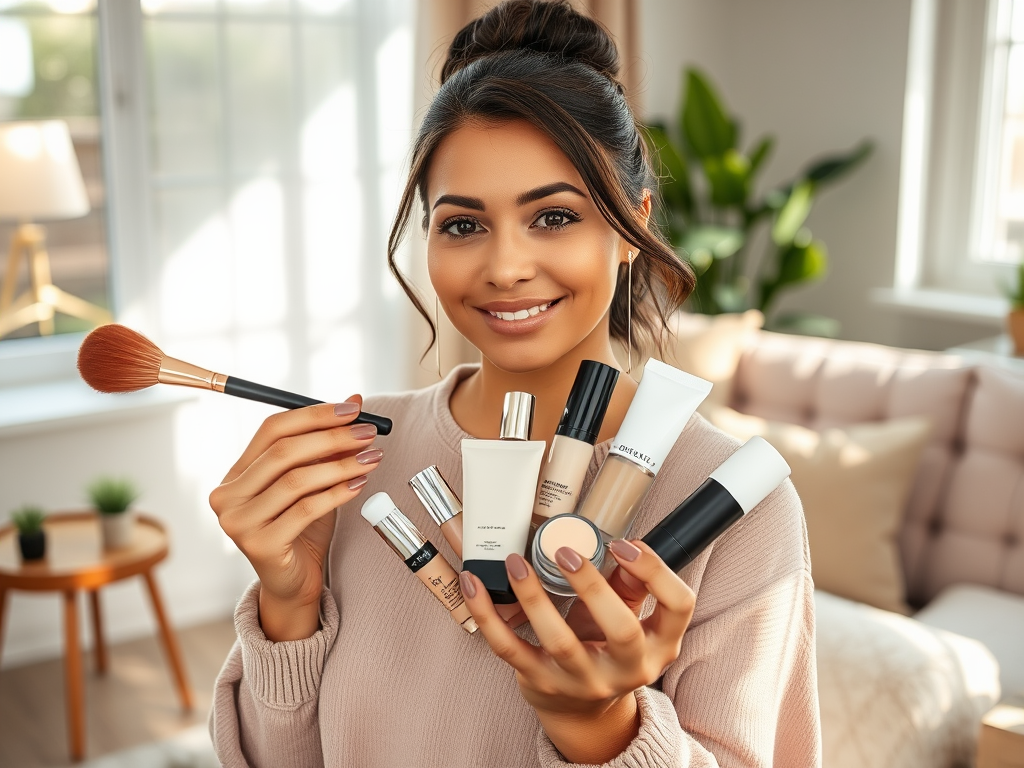
Before diving into the application techniques, having the right tools and products is crucial. Here are some essentials:
- Contour Products: Creams, powders, or sticks in two shades darker than your skin tone.
- Highlighters: Creams or powders in shades lighter than your skin tone.
- Brushes and Sponges: A variety of blending brushes and beauty sponges for seamless application.
This is just the starting point. Your kit can evolve as you learn and experiment with various looks. Quality products can make a significant difference in your contouring results. Prices and formulations vary widely, and each brand has its unique twist on contouring essentials. Keeping your tools clean also ensures a smooth application and better longevity for your products.
| Tool Type | Purpose | Best For |
|---|---|---|
| Contour Brush | Precision and blending for contour products. | All face shapes |
| Highlighting Brush | Applying highlight with a soft touch. | Defined cheekbones |
| Beauty Sponge | Blending contour and highlight. | All skin types |
Step-by-Step Contouring Techniques
Now that you understand the basics, let’s discuss the step-by-step application for a flawless contour. First and foremost, preparation is key. Just like an artist prepares their canvas before painting, you must prepare your skin. A clean and moisturized face creates the best foundation for makeup. Additionally, using a primer tailored to your needs can further enhance adherence. This stage is crucial, as it sets the stage for effective contouring. Remember, a smooth base ensures a more polished finish.
Preparing Your Canvas
Before applying any makeup, it’s essential to start with a clean and moisturized face. This allows for better product adherence and blending. Consider using a moisturizer that suits your skin type to achieve the best results. If you have oily skin, a mattifying moisturizer will make all the difference, while dry skin can benefit from a hydrating product. After applying moisturizer, a primer can further enhance your makeup’s longevity. Your face now is the perfect blank canvas, ready for the artistry of contouring.
Applying Contour and Highlight
Applying contour and highlight is an art that requires practice. Here’s how to do it effectively:
- Identify Your Face Shape: Understanding whether you have an oval, round, square, or heart-shaped face is crucial for knowing where to place your contour and highlight.
- Mapping Your Contour: Using your contour product, apply it to the sides of your nose, under the cheekbones, and along the jawline. This creates a “3” shape on each side of your face.
- Highlighting: Apply your highlighter on the high points of your face, including the tops of your cheekbones, the bridge of your nose, and your forehead.
Blending Techniques
Blending is key to a natural finish. Use a damp beauty sponge or a blending brush to seamlessly blend the contour and highlight, avoiding harsh lines. Take your time with the blending process; a rushed job can lead to noticeable streaks. Remember to check your work in different lighting to ensure everything looks as intended. The goal is to create a flawless transition from light to dark that mimics natural shadows on your face. With practice, you’ll find your blending technique becomes quicker and more intuitive.
Tips for Different Skin Types and Tones
Skin types and tones can significantly affect contouring techniques. Here’s how to tailor the process:
- Oily Skin: Opt for powder-based contours to minimize shine and help your makeup last longer.
- Dry Skin: Cream contours and highlighters provide a more hydrated and dewy finish.
- Darker Skin Tones: Look for rich, warm shades that can adequately contrast with your skin.
- Lighter Skin Tones: Cool-toned products work best to add dimension without looking muddy.
Conclusion
Contouring is an art that, when done correctly, can enhance the natural beauty of your face. By understanding the fundamentals of contouring and highlighting, utilizing the right tools, and mastering techniques suited to your skin type, you can confidently navigate your makeup journey. Remember, practice makes perfect, and with time you’ll be able to create that sculpted look effortlessly. Embrace your creativity, use these techniques as a guide, and don’t be afraid to experiment. The journey of makeup is as enriching as the destination.
Frequently Asked Questions
- What is contouring? Contouring is a makeup technique used to define and enhance the structure of the face by using darker and lighter shades.
- Do I need special products for contouring? While you can use special contour products, any matte bronzer can work as a contour. Just make sure it’s darker than your skin tone.
- Can contouring work for all face shapes? Yes, contouring can be adapted for all face shapes by altering the placement of products.
- How do I choose the right contour color? Choose a contour shade that is 1-2 shades darker than your natural skin tone for best results.
- Is contouring suitable for everyday wear? Contouring can be suitable for everyday wear if applied subtly. For a natural look, focus on blending and using lighter products.
Reading time 8 minutesThe journey to mastering makeup is often filled with techniques that can elevate one’s look from simple to stunning. Among these techniques, contouring stands out as a powerful method that not only enhances facial features but also allows for individual expression. While it may seem daunting initially, contouring can become second nature with…