How to Nail a Matte Eyeshadow Look in 5 Easy Steps
Achieving the perfect matte eyeshadow look may seem daunting, but with the right techniques and products, it can be effortless and stunning. This article provides you with a straightforward guide to mastering the matte eyeshadow trend in just five simple steps. Whether you’re preparing for a casual day out or a glamorous night event, these steps will ensure your matte eyeshadow looks polished and sophisticated.
Step 1: Prepare Your Eyelids

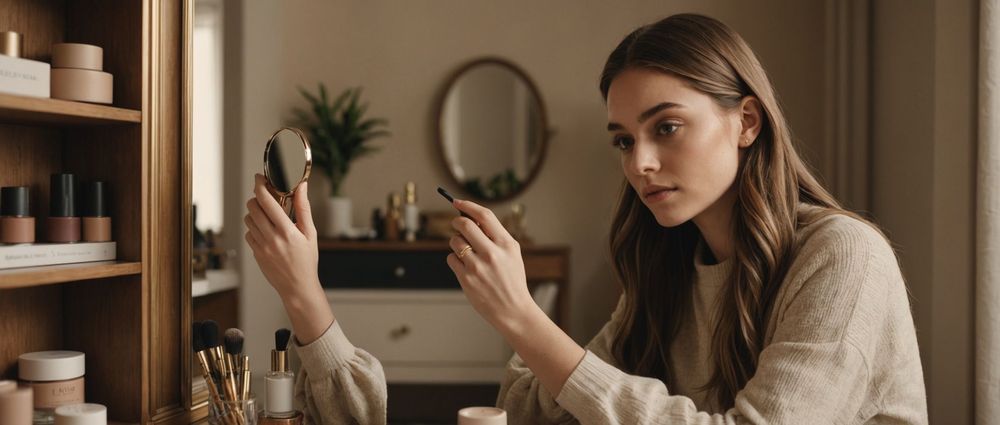
The foundation of any great eyeshadow look starts with well-prepared eyelids. Properly prepping your eyelids sets the stage for even color application and long-lasting wear. Here’s how to do it:
- Cleanse: Begin with a clean slate. Remove any previous makeup or oils from your eyelids.
- Prime: Apply an eyeshadow primer to create a smooth canvas. This ensures that your matte shadows adhere better and last longer.
- Set: Lightly dust a translucent powder over your primer to help your eyeshadow blend seamlessly.
By spending a few moments preparing your eyelids, you’ll significantly enhance the performance of your matte eyeshadows. This step cannot be overlooked if you want a flawless finish.
Step 2: Choose Your Matte Shades Wisely
Selecting the right matte eyeshadow shades is crucial for an appealing look. Decide on a palette that complements your eye color and skin tone. Here are some options based on various features:
- For Brown Eyes: Rich earthy tones like burnt orange, deep plum, or amber.
- For Blue Eyes: Warm shades such as peach, copper, or warm browns.
- For Green Eyes: Shades of mauve, taupe, or soft gold.
- For Fair Skin: Light pastels or soft neutrals can create a natural look.
- For Dark Skin: Deep jewel tones or bright primary colors stand out beautifully.
Choosing the right matte shades not only enhances your natural features but also adds depth to your overall look. Take your time to explore different color combinations that resonate with your style.
Step 3: Apply with the Right Tools

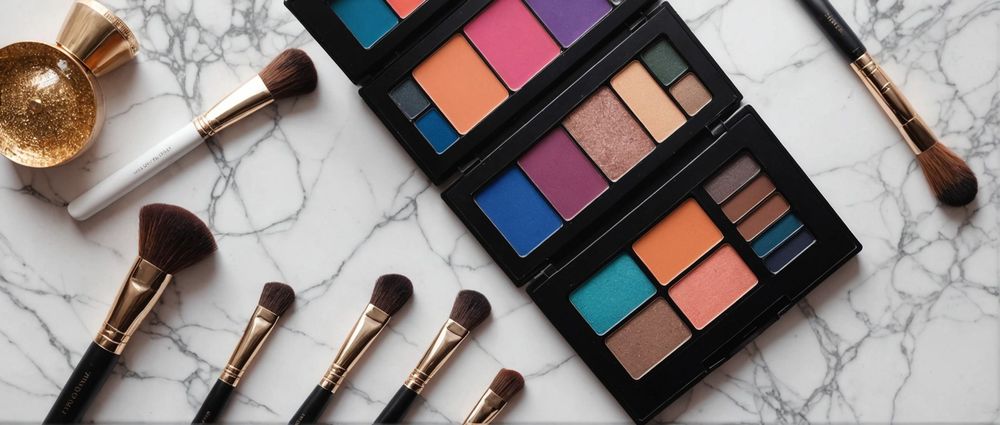
Application tools can make a substantial difference in achieving a flawless matte eyeshadow look. The right brushes will help you blend and define with precision. Here’s a rundown of the essential brushes to have:
- Flat Shader Brush: Ideal for packing on color onto the lid.
- Blending Brush: A fluffy brush for seamless transition between colors and soft blending.
- Pencil Brush: Perfect for adding depth along the lower lash line or in the crease area.
Utilizing these brushes correctly will elevate your application technique and help you achieve a professionally blended look. Remember, quality brushes can make the blend smoother and more seamless.
Step 4: Blend Like a Pro
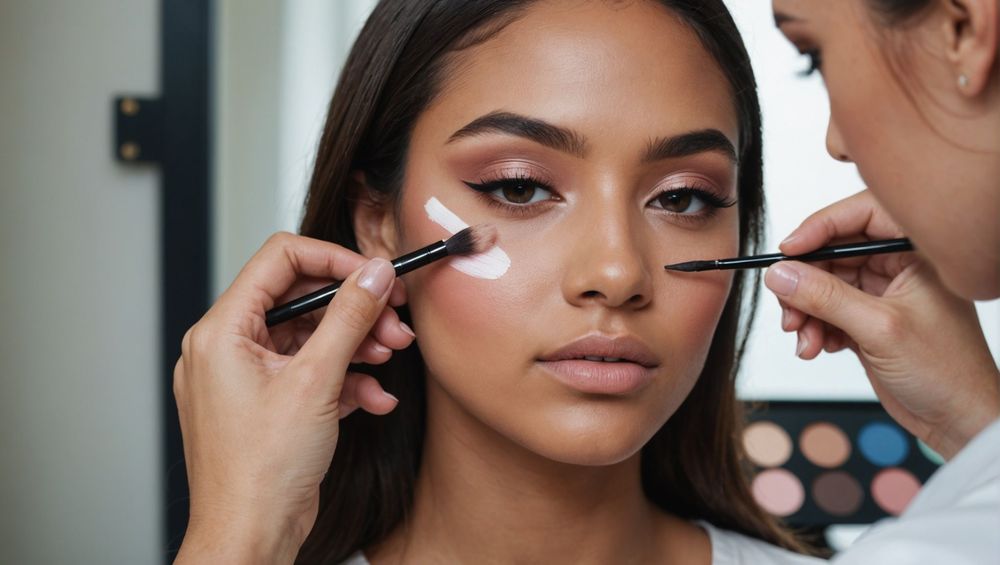
Blending is arguably the most critical step in achieving a polished matte eyeshadow look. A well-blended eye creates dimension and adds sophistication. Here’s how to blend effectively:
- Start with the Transition Shade: Apply a lighter shade into the crease using a blending brush, sweeping back and forth to create a smooth gradient.
- Layer the Shadows: Build up your desired color gradually. Start with a light application and deepen the shade as needed.
- Use Circular Motions: When blending, use small circular motions to diffuse harsh lines and create a soft finish.
Proper blending technique will distinguish an amateur look from a professional one, so invest time in perfecting this skill. Remember, practice makes perfect, so don’t be afraid to experiment with different blends.
Step 5: Finish with a Statement Liner and Mascara
Finally, to complete the matte eyeshadow look, it’s essential to frame your eyes with liner and mascara. These final touches enhance your eye makeup and ensure that your eyes pop. Here’s what to do:
- Apply Eyeliner: Opt for a sleek liquid or gel liner to define your lash line. Smudge a bit of matte shadow under your lower lash line for added dimension.
- Layer on Mascara: Apply one or two coats of volumizing mascara to your lashes to open up your eyes further and balance the overall look.
- Consider False Lashes: For evening looks, a pair of natural-looking false lashes can elevate your eye makeup significantly.
Completing your matte eyeshadow look with eyeliner and mascara is essential for drawing attention to your eyes and bringing your entire makeup look together.
Conclusion
Nailing a matte eyeshadow look doesn’t have to be complicated. By following these five easy steps—prepping your eyelids, choosing the right shades, using the proper tools, mastering the blending technique, and finishing with eyeliner and mascara—you can achieve a stunning and sophisticated look ready for any occasion. Remember that practice is key, so don’t hesitate to experiment with different combinations and techniques until you find what works best for you!
FAQs
1. Can I use shimmer eyeshadow with a matte finish?
Yes, you can mix shimmer and matte shadows for a more dynamic look. Just ensure that the matte shades are more prominent to maintain a balanced appearance.
2. How do I prevent my matte eyeshadow from fading?
Using an eyeshadow primer and setting the shadows with a translucent powder can help prevent fading and ensure long-lasting wear throughout the day.
3. What is the best way to remove matte eyeshadow?
Use an oil-based makeup remover or micellar water to effectively break down matte eyeshadow without irritating the skin.
4. How do I layer multiple matte shades without looking muddy?
Start with the lightest shades first and then gradually build up with darker shades, ensuring proper blending in between each application to avoid a muddy effect.
5. Are there specific brushes I should avoid when using matte eyeshadow?
Avoid using stiff or coarse brushes that can leave harsh lines. Invest in soft, fluffy brushes that allow for seamless blending and application.
Reading time 7 minutesAchieving the perfect matte eyeshadow look may seem daunting, but with the right techniques and products, it can be effortless and stunning. This article provides you with a straightforward guide to mastering the matte eyeshadow trend in just five simple steps. Whether you’re preparing for a casual day out or a glamorous night…